.webp?width=1000&height=482&name=mf-cell-form-bg-1%20(1).webp)
Contents
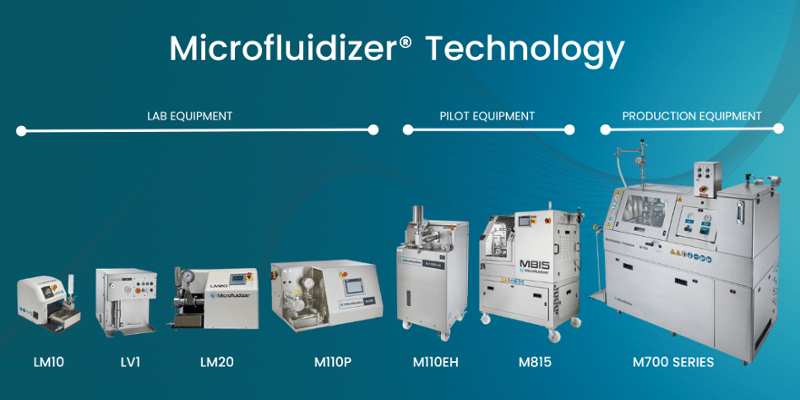
LAB SCALE
Replace/Rebuild Inlet Check Valves and Backflush the Interaction Chamber™ on a LV1
Replace/Rebuild Inlet Check Valves
- Take the inlet check valve off the pump body. (0:10)
- Insert new ball, spring, cone. (0:23)
- Reconnect the check valve to the pump body. (0:52)
- Tighten the gland. (0:57)
Backflush the Interaction Chamber™
- Disconnect cooling coil from Interaction Chamber™. (1:10)
- Disconnect Interaction Chamber™ from pump body. (1:18)
- Connect backflush adaptor to Interaction Chamber™. (1:28)
- Connect adaptor to pump body. (1:43)
- Backflush Interaction Chamber™. (not shown)
- After the backflush is complete, put the Interaction Chamber™ back to the original position. (1:57)
PILOT SCALE
Backflushing the Interaction Chamber™ for a M110EH
- Disconnect the Chamber support bracket. (0:06)
- Disconnect the glands to the inlet and outlet of the Interaction Chamber™ assembly. (0:14)
- Flip the Chamber assembly to the backflush position. (0:27)
- Reconnect and tighten the glands in backflush position. (0:28)
- Commence backflushing of the Chambers. (not shown)
- Disconnect the glands after backflush is complete. (0:53)
- Flip the Chamber assembly back to the original position. (0:58)
- Reconnect and tighten the glands and reinstall the Chamber support bracket. (1:09)
PRODUCTION SCALE
Backflushing the Interaction Chambers™ on a Production Scale Processor
- Disconnect the gland of the clamp and support brackets. (0:06)
- Disconnect the gland. (0:27)
- Disconnect the glands and flip the Chamber assembly (180°) to backflush position. (0:47)
- Tighten the glands in backflush position and all other remaining parts. (1:22)
- Commence backflushing of the Chambers assembly. (not shown)
- Disconnect the glands after backflush is complete. (2:23)
- Flip the Chamber assembly back to the original position. (2:46)
- Reconnect and tighten the glands and reinstall the support bracket and clamp. (3:08)

HERE TO HELP
Contact our expert team
Please contact us if you have any questions about our Microfluidizer® high shear fluid processors.
Microfluidics
Since 2011, Microfluidics has been a member of the IDEX Corporation family of companies. IDEX is a global leader in highly engineered systems and components.
About us
